版本snpe1.32
支持Python的版本为Python2.7 和 Python3.4
- 安装Python3.4
由于ubuntu18.04默认的Python版本为Python3.6 所以要先安装Python3.4
下载Python3.4 source code
wget https://www.python.org/ftp/python/3.4.10/Python-3.4.10.tgz解压
tar -xzf Python-3.4.10.tgz进入解压之后的文件夹
cd Python-3.4.10配置安装选项
如果想快速安装,只配置安装位置即可。例如,我要把 Python3.8.3 安装在这个目录下:/usr/local/python3.4./configure --prefix=/usr/local/python3.4如果不在意安装耗时,可以设置优化选项
--enable-optimizations./configure --prefix=/usr/local/python3.8 --enable-optimizations编译安装
make && make install
- 设置系统默认Python环境为Python3.4
这一步要在/usr/bin目录下设置两个软链接文件:
- /usr/bin/python3.4
- /usr/bin/python3.4-config
按照ubuntu 官方的教程来
ln \-s /usr/local/python3.4/bin/python3.4 /usr/bin/python3.4
ln \-s /usr/local/python3.4/bin/python3.4\-config /usr/bin/python3.4\-config
ln \-s /usr/bin/python3.4 /usr/bin/python
这样在终端运行python
最新高通官方做了更新Python支持3.5 同时也可关注官方手册
https://developer.qualcomm.com/docs/snpe/setup.html
snpe 使用
- 下载对应版本snpe这个很简单不做赘述了下载地址:
https://developer.qualcomm.com/software/qualcomm-neural-processing-sdk - 解压snpe到合适的地方
- 安装相关依赖
sudo apt-get install python-dev python-matplotlib python-numpy python-protobuf python-scipy python-skimage python-sphinx wget zip - 检测所有依赖是否已经安装(必须)
这里可能会提示下载一些包,选择安装就好source ~/snpe-sdk/bin/dependencies.sh - 检测所有的python依赖是否已经安装
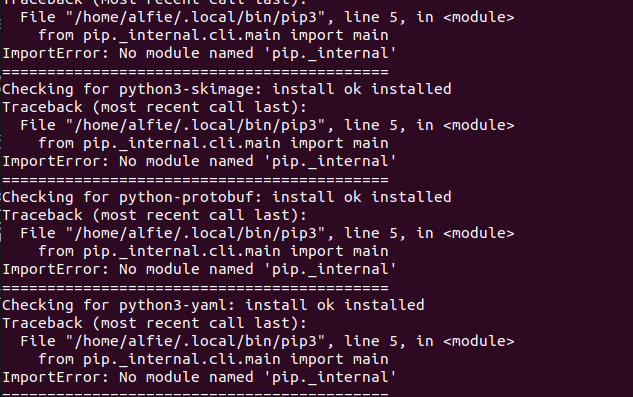
出现图片中的字样则表示Python以来安装好了,如果显示没有与之相对应的包使用source ~/snpe-sdk/bin/check_python_depends.sh
如果使用conda进行管理的话可以使用sudo apt-get install XXXsudo conda install XXX
- 下载对应版本snpe这个很简单不做赘述了下载地址:
转换模型
snpe-tensorflow-to-dlc --input_network $SNPE_ROOT/models/inception_v3/tensorflow/inception_v3_2016_08_28_frozen.pb --input_dim input "1,299,299,3" --out_node "InceptionV3/Predictions/Reshape_1" --output_path inception_v3.dlc --allow_unconsumed_nodes

